👋 TechBeamers created an amazing tool to solve the Problem
Reading assembly code can feel like trying to understand a foreign language. Instead of words like if, for, or print, you see short and cryptic terms like MOV, JMP, CMP, or CALL. Each of these instructions is powerful, but to the human eye, it can look like a bunch of jumbled lines.
What makes it more confusing is that assembly doesn’t show structure easily. You won’t know where a condition starts or ends. You have to follow each instruction line-by-line in your head. This can be tiring, especially for beginners or anyone trying to figure out someone else’s code.
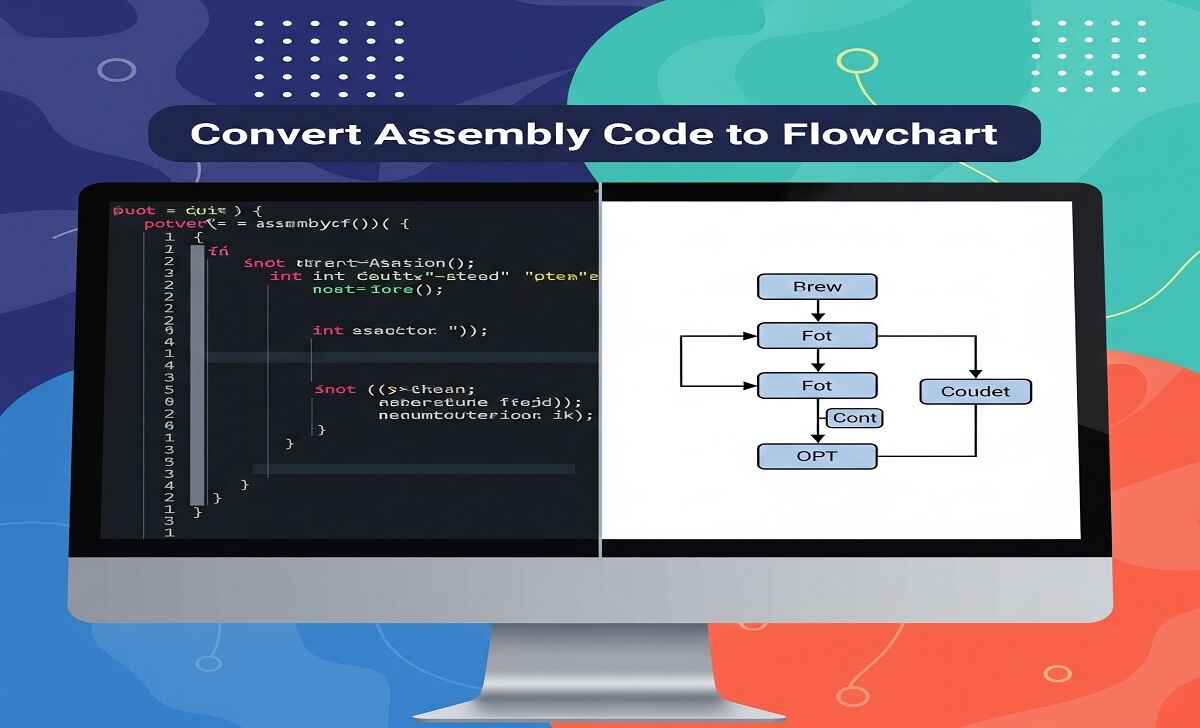
This is where flowcharts become a big help. They convert hard-to-follow code into a visual format. With boxes, arrows, and simple paths, you can clearly see what happens next, what choices are made, and how the program flows.
In this guide, we’ll explore how to turn assembly code into flowcharts using free online tools — in a way that anyone can follow.
💡 Why You Should Convert Assembly Code into Flowcharts
These points will help you understand the benefits of using a flowchart converter in detail.
📈 Understand the Logic Without Overthinking
With flowcharts, you don’t have to imagine how the code moves. You can literally see each step — like “if this happens, go here; otherwise, go there.” This saves time and makes everything less stressful.
🔧 Debugging Gets Much Easier
When a program doesn’t work as expected, looking at the raw code can be slow and confusing. But a flowchart lets you quickly find where the logic breaks — especially in code written by someone else or copied from somewhere.
👩🎓 Learn Assembly Faster and Smarter
Many students give up on assembly because it looks scary. But when they use flowcharts to follow the logic, everything becomes clearer. It helps you connect what a command does with what happens next.
📄 Clean and Visual for Documentation
Flowcharts look neat and are easy to add in school assignments or technical reports. If you ever need to explain how a piece of code works, showing it as a flowchart is much more effective than pasting the code.
🌐 What Is an Assembly to Flowchart Converter?
An assembly to flowchart converter is a simple tool that reads your low-level assembly instructions and draws a diagram that shows how the program runs.
You paste your code into the tool, and it does the heavy lifting:
- Detects commands and jumps
- Understands logic like comparisons and decisions
- Draws boxes and arrows that show the flow from start to end
These converters are useful for:
- Programmers who are analyzing or fixing code
- Security researchers doing reverse engineering
- Students learning how things work under the hood
It’s like turning a dense book into a picture book. Much easier to follow!
🪠 What Makes a Good Assembly Flowchart Tool?
Not every tool is built the same. Here’s what to look for:
| Feature | Why It Matters |
|---|---|
| ✅ Understands Assembly Code | If it can’t handle real instructions like CMP, JMP, or CALL, it’s useless for ASM. |
| 🔍 Shows the Flow Clearly | You should get a flowchart that looks clean and makes sense without too many arrows crossing over. |
| 📅 Download Options | Saving as a PDF or PNG helps for study, sharing, or printing later. |
| 🖥️ Web-Based | No need to download software — saves time and effort. |
| 🌐 Works on Common Instruction Sets | It should understand x86 or x64 at least, since they are most commonly used. |
Some tools even let you analyze full binary files, which is useful if you’re trying to reverse-engineer a compiled program.
🛠️ Step-by-Step: How to Convert Assembly to Flowchart
✅ Step 1: Choose Your Tool
Select a tool that supports assembly logic. Some are simple and web-based; others are powerful but need installation.
Try one of these:
- Ghidra – Powerful and free, ideal for complex analysis
- Cutter (with Radare2) – Visual and advanced, great for security research
- Online GDB (Assembly) – Easy to use for small code snippets
- TechBeamers Flowchart Tool – Great for teaching and learning simple logic
✅ Step 2: Paste or Upload Your Code
Open the tool and either paste your assembly code directly or upload a file (if your tool supports binaries).
Here’s a sample you can try. It has a loop that runs from 0 to 9.
🔧 Platform: x86 (32-bit), Intel syntax (NASM-style)
section .data
    ; Nothing needed here

section .bss
    ; Nothing to reserve

section .text
    global _start

_start:
    mov ecx, 0          ; Initialize counter to 0

loop_start:
    cmp ecx, 10         ; Compare counter to 10
    jge loop_end        ; If ecx >= 10, exit loop

    ; Body of loop - here you could do something
    ; For example, a no-op or a system call (not shown here)

    inc ecx             ; Increment counter
    jmp loop_start      ; Repeat loop

loop_end:
    ; Exit the program (Linux syscall)
    mov eax, 1          ; syscall: exit
    xor ebx, ebx        ; exit code 0
    int 0x80            ; make syscall
Simple Explanation:
mov ecx, 0: Initializes the counter.cmp ecx, 10: Compares counter with 10.jge loop_end: Jumps out of the loop when counter is ≥ 10.inc ecx: Increments the counter each loop.jmp loop_start: Goes back to the top of the loop.int 0x80: Linux system call for exit (older method, works for simple examples).
✅ Step 3: Click Analyze or Generate
The tool will now scan your code, understand the instructions, and draw the flowchart for you.
✅ Step 4: Adjust and Export
Some tools let you move boxes around or zoom in. Once you’re happy, download it as a picture or PDF to keep.
🔎 Free Tools to Try Out
| Tool | What It Does Best |
| Ghidra | Works on huge files, perfect for reverse engineering |
| Cutter | Clean visual interface, helpful for jumping through logic |
| Online GDB | Great for small examples and testing code logic |
| TechBeamers Flowchart Tool | Easy and free for basic logic and learning |
Each tool is good at different things — try one or two to see what fits your needs.
📅 What Assembly Instructions Do These Tools Understand?
Most converters are built to understand:
- Data operations like
MOV,ADD,SUB,XOR - Comparisons such as
CMP,TEST - Jumps and branches like
JMP,JE,JNE,JG,JL - Functions and returns using
CALL,RET - Looping with instructions like
DEC,INC, andLOOP
If your code uses rare or device-specific instructions, the tool might not catch everything. But for most cases, these tools work great.
❓ FAQ – Assembly to Flowchart Tools
Q1. Is it safe to use these online tools?
Yes. If the tool runs fully in your browser and doesn’t upload your code anywhere, it’s safe. Always check for that in the tool’s FAQ or privacy note.
Q2. Can I use these tools to reverse engineer a binary file?
Yes, but choose tools like Ghidra or Cutter. They are made for deep-level analysis and will show you code structure and flow.
Q3. I’m new to assembly. Can I still use these tools?
Definitely! These tools are made to help you learn faster. They show how one line leads to another, which is a great way to understand the logic.
Q4. Will I be able to save my flowchart?
Yes, most tools let you download your chart as an image or PDF. Very useful for assignments or sharing with a team.
Q5. Do I have to install anything?
Not always. Tools like Ghidra or Cutter need to be installed. But simpler ones like Online GDB and TechBeamers work right in your browser.
📝 Bonus Tips for Better Results
Here, we have outlines a few tips to help you generate a clean flowchart image.
- Keep your code tidy and break it into parts.
- Try to use clear labels instead of random ones like
L1,X2, etc. - Add comments in your assembly code so you remember what each part does.
- Start with short pieces of code to see how the tool handles them.
- If the flowchart looks messy, simplify the code before converting.
🏁 Final Words
Assembly language may feel complex at first, but don’t let it scare you. With flowchart tools, you get to see how everything connects — without getting lost in the details.
These tools are like visual guides that walk you through the logic. Whether you’re learning, debugging, or working on a big project, they help you save time and think clearly.
Try a simple example today. Once you see how easy it becomes, you’ll want to use flowcharts every time you read or write assembly code!