What is the Genymotion and what does this Emulator do?
Genymotion emulator is one of the most used Android Studio plugins where you can deploy and test your mobile apps. Here, we have brought a step-by-step tutorial to download, set up, and use Genymotion with Android Studio.
For your note, there is also a native emulator that you get as default with the Android Studio. But it is slow and lags in functioning as a real mobile device. Also, there is no emulator which can completely replace an actual device. But Genymotion is picking up as the best and closest choice of Android developers/testers if compared to other emulators.
Download Genymotion Setup
First of all, you need to download the Genymotion setup. Click on the below link to get the installer package.
Installation
Once the download finishes, use the steps given below to install the Android emulator.
- Start the installation process by running the downloaded package.
- Leave all the settings as is, continue to the next steps, and click on Install.
- You’ll see Virtual Box installation in between. In the last step, select Launch Genymotion.
Configuration
After the above steps, you will find the Genymotion emulator screen coming up.
- The first dialogue box which will appear, asks you to add the first virtual device. Click yes.
- You will find that no virtual devices are available.
- It’ll need you to sign in.
- Now various virtual devices will display here.
- Select one of the devices from the open list.
- Click next to retrieve and deploy the new virtual device.
- It’ll take a few seconds to complete, then click to finish.
- The virtual device should now be visible in the Genymotion Manager.
- If you can see it, then select the device and click to start.

Setup Genymotion Emulator with Android Studio
Follow some more steps to add the Genymotion emulator plugin to the Android Studio.
Check This – File Transfer on Android (5 Ways)
Add Genymotion Emulator to Android Studio
- Run Android Studio and go to the Files menu. Then, select the settings option.
- Out of several options displayed, choose Plugin. You’ll see a button labeled Browse Repositories.
- Search for the Genymotion emulator to add it to Android Studio.
- Right-click on the plugin package and Click Download and Install.
- Click Yes for the message to confirm this Installation.
- You should now see the Genymotion option under Plugins.
- Press the Apply button displayed on the screen.
- Now look for the Restart option in the Android Studio window.
- Click Restart and wait for the studio to start and activate the changes.

Use the Genymotion emulator to Launch the Virtual Device
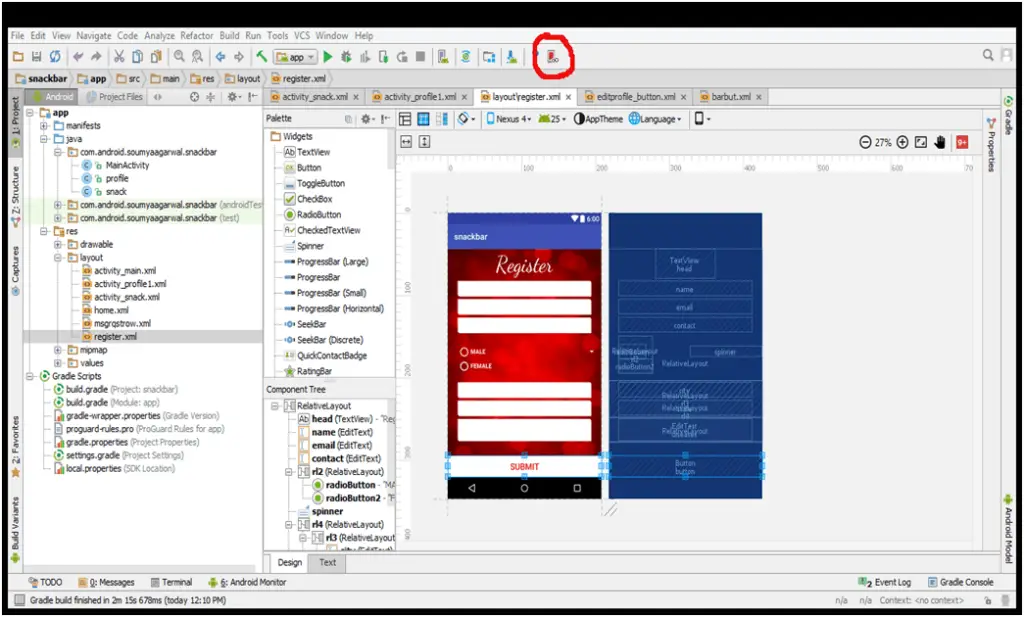
After Android Studio is up again, look for a Genymotion icon inside the menu bar.
- Click on the plugin icon.
- Set the path to the Genymotion installation.
- Now your Genymotion emulator should be ready to use.
- Complete the process and click the Genymotion icon.
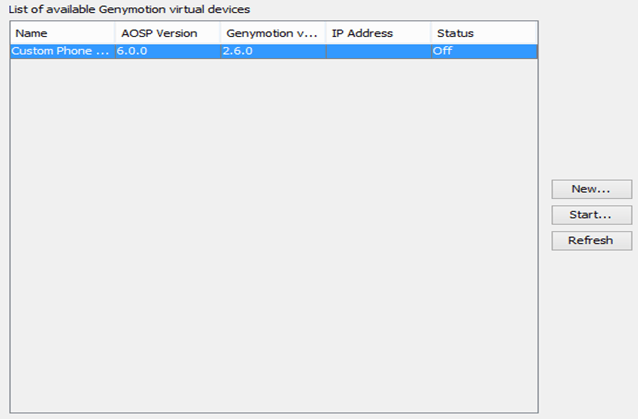
- The following dialogue box will appear on the screen.

- Select one of the available devices and click on the Start button.
- Following the Genymotion emulator screen running the virtual device will now appear.
- It is the target device where you can perform testing of your Android Apps.

Also, Read – Your First Android Studio Tutorial.
Summary – Genymotion Emulator
Not all of us, especially those who are beginners won’t be willing to spare a real device to test the Android apps. Also, we shouldn’t use your phones for testing as it may cause data loss.
Genymotion makes it easy to test and even debug any Android application. So all of you reading this post must give it a try.
Lastly, our site needs your support to remain free. Share this post on social media (Linkedin/Twitter) if you gained some knowledge from this tutorial.
Enjoy coding,
TechBeamers.


