In this post, we’ll walk you through the step-by-step process to install the Firebug and FirePath add-ons in the Firefox browser. But first, let’s quickly revisit the basics of XPath and these tools to understand their significance.
Note: In our last tutorial, we explained various types of Selenium locators with useful examples. If you are just a beginner in test automation, check this post once.
What is XPath?
XPath is a technique for uniquely identifying an element on a web page. It behaves like an address to an HTML element such as checkboxes, text, images, links, divs, etc.
In Selenium, we treat XPath as one of the most trusted element locators. XPath is much more than an address as it not only points to the endpoint, it also contains the whole map to lead to a destination.
Set up FireBug for Selenium Automation
What is FireBug and Why Use It?
FireBug is the most famous add-on for the Firefox browser. It gels with Firefox so well to bring you plenty of tools for web development. It gives you control over the document object model of the web page so that you can modify, manage, and monitor the CSS, HTML, and JavaScript in real time.
Usually, there are four types of operations that you do with the FireBug add-on.
✅ Display source – It gives you the ability to review the HTML of the web page after the JavaScript engine completes its processing.
✅ Highlight changes – It allows us to detect and highlight (in Yellow) any HTML changes as they appear on the web page. This feature would fetch your attention instantly to make sure nothing gets missed.
✅ On-the-fly Inspection – FireBug has its “Inspect” option for quickly viewing the prospective locators as you exercise it on a web element.
✅ Copy HTML – You can easily copy the HTML code of the page or part of a web page using the “innerHTML” property or the XPath expression for the element.
Installing FireBug in Firefox
You can easily find FireBug and download it from the Firefox plugin store.
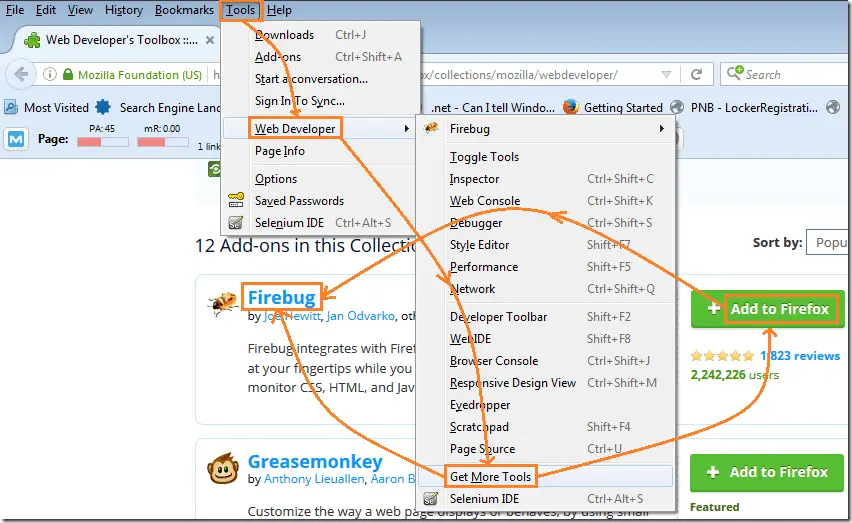
1️⃣ Follow the menu option as Tools >> Web Developer >> Get More Tools.
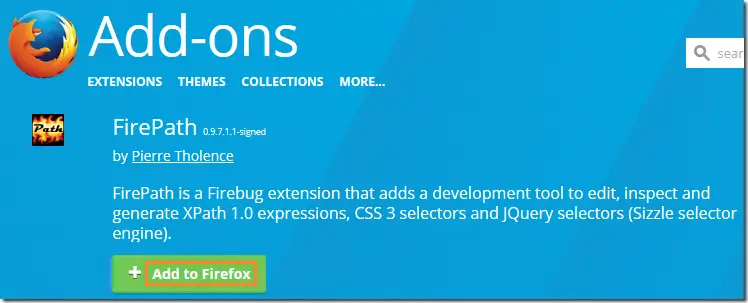
2️⃣ The above action will lead you to a web page as shown in the below image. There you will find an option to download/install the FireBug add-on. You should click the “Add to Firefox” button to begin the plugin installation.
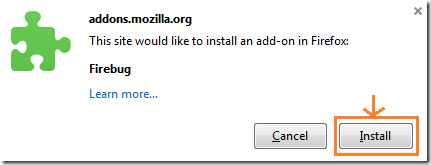
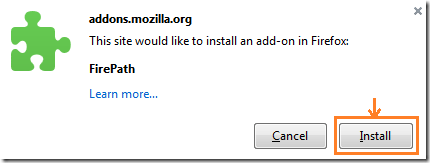
3️⃣ Upon clicking the add link, you will see the below popup. Now, click the “Install” button to complete the installation.
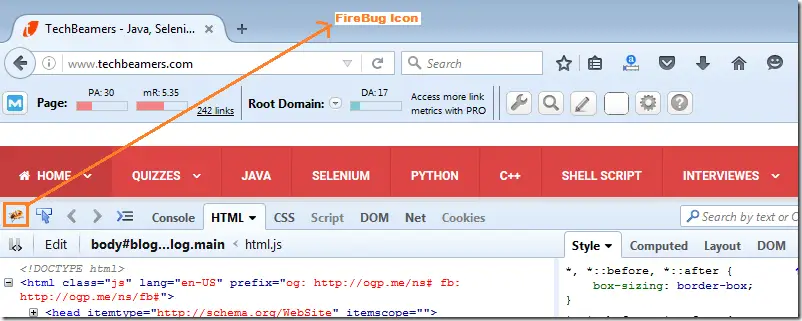
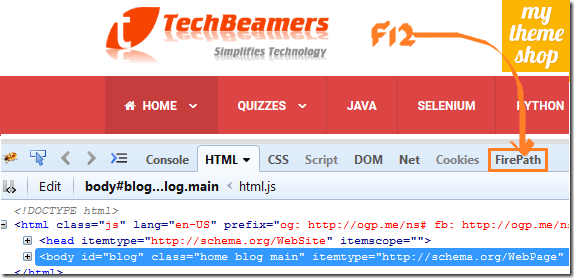
4️⃣ After finishing the FireBug installation, you can use the “F12” shortcut key to launch the FireBug add-on. Check out the below screenshot.
Using FireBug to Find XPath
It is quite an intuitive plugin. Follow the below steps to get started.
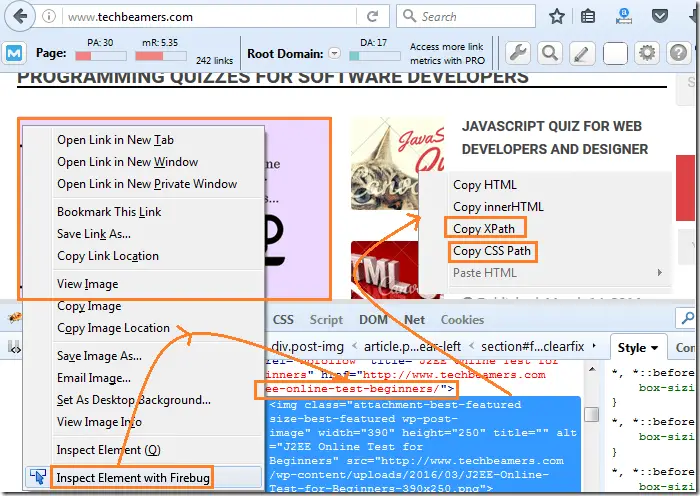
1️⃣ Right-click on any web object and press the “Inspect Element with Firebug” option. It’ll open up an HTML code window as shown in the below image.
2️⃣ From the code window, again right-click and select the “Copy XPath” option to retrieve the element’s XPath locator or you can try other ones as well.
Set up FirePath for Selenium Automation
What is FirePath and Why Use It?
FirePath is an extension of the Firebug add-on that enhances its element inspection capabilities. It helps test automation engineers by simplifying the process of working with XPath and CSS Selectors.
This plugin extends the capability of the FireBug add-on. It brings the options to modify, inspect, and produce XPath and the CSS Selector locators.
✅ You can supply custom XPath values and test their correctness by spotlighting the effects directly on the web page.
✅ It returns the XPath of the element you’ve selected Like the Firebug add-on does.
Installing FirePath in Firefox
We’ve told above that FirePath only extends the FireBug capabilities. So you should install it after adding the FireBug add-on.
1️⃣ It is the same process as we did for the FireBug add-on. Just go to Tools >> Web Developer >> Get More Tools.
2️⃣ Search for the FirePath plugin and click on the “Add to Firefox” button.
3️⃣ After clicking the add option, the FirePath installation dialog will open as shown below. You’ll have to press the “Install” button to finish the process.
4️⃣ Now, you can give the “F12” command and check the “FirePath” option got added in the Firebug’s toolbar.
Using FirePath to find XPath
It is, even more, easier to use FirePath than FireBug. Check out the below steps for help.
1️⃣ Open FireBug and click on the “FirePath” tab. There you can find an XPath edit field which would point to the XPath of any selected web element. Here you can write a custom XPath and use the “Highlight” button to verify it.
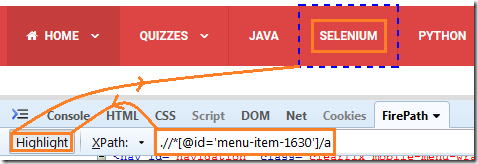
2️⃣ The FirePath plugin makes the presentation of the XPath pretty straight. You can easily copy the XPath of the selected web element. And later use the saved XPath value in the test automation project.
Live Demo – Installing and Using FireBug and FirePath
Now, it’s time to summarize what you’ve learned from this post. We’ve brought you the animated GIF, which contains the step-by-step process of the plugin installation and the usage flow as explained in the above sections.
Compare FireBug and FirePath
The fundamental difference between the two is that FireBug returns the Absolute XPath whereas the FirePath returns the relative path.
Check out the below examples for more clarity on the difference between FireBug and FirePath. You can also tune the FirePath setting to produce the absolute XPath as well.
# Follow the below example of an absolute
# XPath using the FireBug Add-on.

html/body/div[2]/div/div/aside/div[5]/ul/li[1]/a
# Follow the below relative XPath expression
# generated by the FirePath Add-on.
.//*[@id='category-posts-5']/ul/li[2]/aHappy Testing!