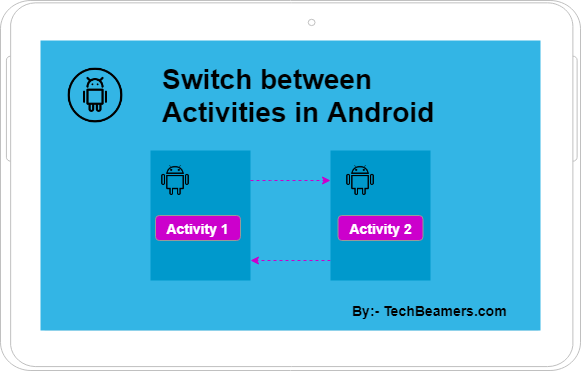
This tutorial explains different ways to switch between activities in Android. It briefly demonstrates these methods and highlights their pros and cons. Review them carefully so that you can choose the one that best fits your use case.
Understand Activities in Android
Android applications are typically made up of multiple activities, each representing a distinct screen or user interface. Switching between activities is a basic need in Android applications. It allows you to navigate through different screens or components of your app.
Different Ways to Switch Between Activities
Switching between activities is essential for creating a seamless and interactive user experience. There are several ways to accomplish this task, and we will discuss three common methods:
- Using Intents
- Using the startActivity() method
- Using the FragmentManager

Method#1 Using Intents
Intents are a messaging system in Android that allows different components of an app to request actions from other components. They are commonly used to switch between activities. Here’s how you can use intents to start a new activity:
// Create an Intent to start the target activity
Intent intent = new Intent(this, TargetActivity.class);

// Start the target activity
startActivity(intent);
In this example, this refers to the current activity, and TargetActivity is the class of the activity you want to start. Make sure you have declared the target activity in your AndroidManifest.xml file.
Also Read: Genymotion Emulator – Test & Run Android Apps
Method#2 Using startActivity()
The startActivity() method is a convenient way to switch between activities. It is often used in combination with intents. Here’s an example:
// Create an Intent to specify the target activity
Intent intent = new Intent(this, TargetActivity.class);

// Start the target activity using startActivity()
startActivity(intent);
This method simplifies the process and is widely used in Android development.
Method#3 Using FragmentManager
In some cases, you may want to switch between fragments within the same activity rather than starting a new activity. The classFragmentManager is a powerful tool for this purpose. Here’s how you can use it:
// Get the FragmentManager
FragmentManager fragmentManager = getSupportFragmentManager();

// Begin a transaction to replace a fragment
FragmentTransaction transaction = fragmentManager.beginTransaction();

// Replace the current fragment with a new one
transaction.replace(R.id.fragment_container, new MyFragment());

// Commit the transaction
transaction.commit();
In this example, R.id.fragment_container is the ID of the container where you want to replace the fragment, and MyFragment is the class of the fragment you want to display.
Comparing Different Methods
Now, let’s compare these methods in a table to help you choose the most suitable one for your needs:
| Method | Use Case | Pros | Cons |
|---|---|---|---|
| Using Intents | Starting a new activity from the current one | – Can pass data between activities | – Requires explicit class name |
| – Flexible and versatile | – Slightly verbose | ||
| Using startActivity() | Starting a new activity from the current one | – Simple to use | – Still requires an Intent |
| Using the FragmentManager | Switching between fragments within the same activity | – Allows dynamic UI updates | – Limited to fragment switching |
| – Ideal for complex UIs | – Not suitable for activity switching |
Which is best to Switch Between Activities?
If you need to start a new activity, using intents or the startActivity() method is the way to go. If you want to switch between fragments within the same activity, the FragmentManager is a powerful tool.
In summary, consider the following when making your decision:
- If you need to switch between activities, choose either intents or
startActivity()based on your preference for verbosity and flexibility. - If you want to switch between fragments within the same activity, use the FragmentManager for dynamic UI updates and complex user interfaces.
Recommended – Create Your First Android App
Before You Leave
In this short tutorial, we presented multiple ways to help you, now you can choose any of them depending on your use case.
Select the method that aligns with your app’s architecture and design goals to provide the best user experience.
Lastly, our site needs your support to remain free. Share this post on social media (Linkedin/Twitter) if you gained some knowledge from this tutorial.
Happy coding,
TechBeamers.


